
Track the tasks assigned to the system user. #
The system enables the user to track tasks previously assigned to them, evaluate their level of completion, and ensure that the required work is carried out efficiently. To do this, follow these steps:
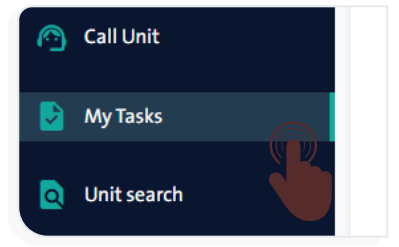
- From the side control menu, select “My Tasks”
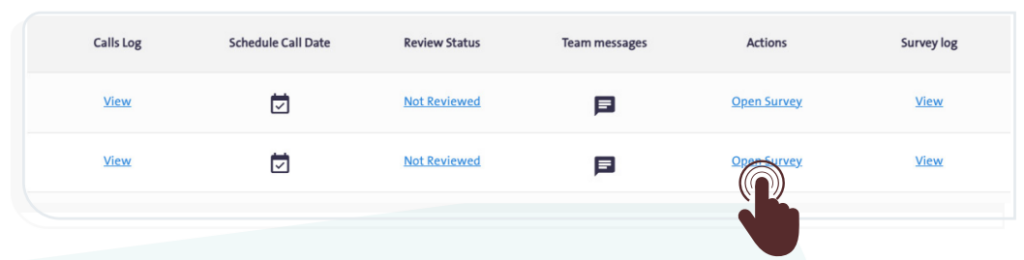
 .A table of the user’s tasks will appear, containing the following data for each pulled unit:
- Unit Reference Number
- Edited By
- Completion Status
- Call Log
- Schedule Call Date
- Review Status
- Team messages
- Actions
- Survey log
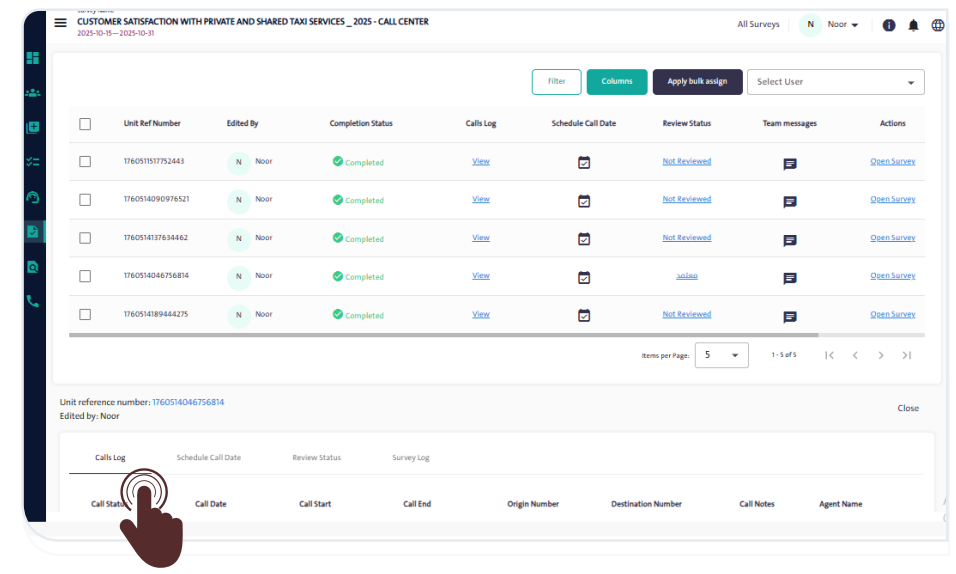
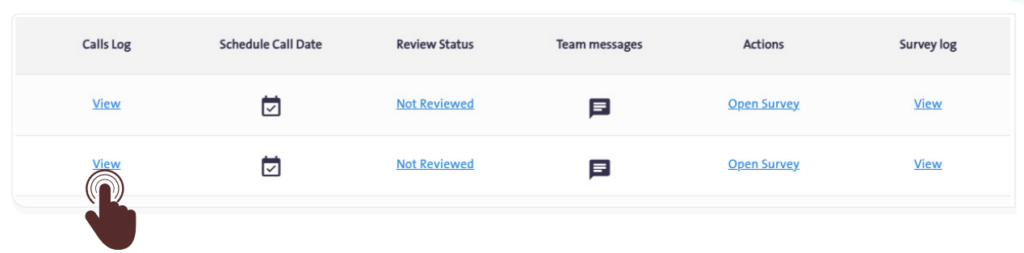
- To view the details of the call log, click the “View” link for the desired form within the “Call Log” field in the “Tasks” table. The “Call Log” tab will then appear below the previous table, displaying the following details:
- Call Status
- Call Date
- Call Start Time
- Call End Time
- Origin Number
- Destination Number
- Call Notes
- Agent Name
Schedule a Call #
You can schedule the call time for the pulled unit by following these steps:
- Click the “Schedule” icon
 for the desired form within the “Schedule Call Date” field in the “Tasks” table. The “Call Scheduling” tab will then appear below the previous table, as shown in the following image:
 - Set the date and time for the call to schedule it.
- Click “Save”.
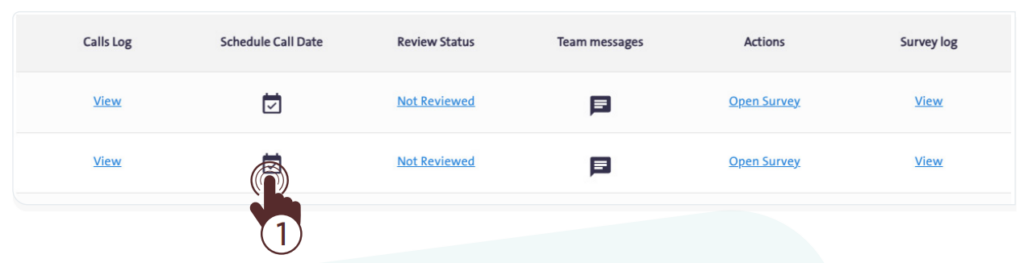

The scheduled call time must be at least 5 minutes later than the current time.
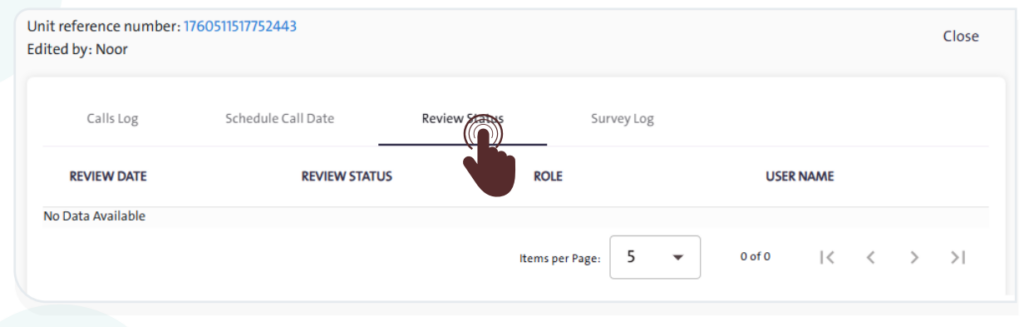
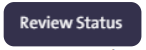
Review Status #
To view the review status details of a survey unit, click the “Review Status” link for the desired survey within the “Review Status” field in the “Tasks” table. The “Review Status” tab will then appear below the previous table, displaying the following details:
- Review Date
- Review Status
- Role Description
- Usernam
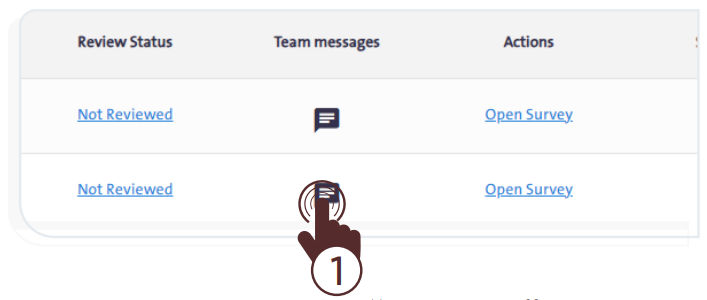
Team Messages #
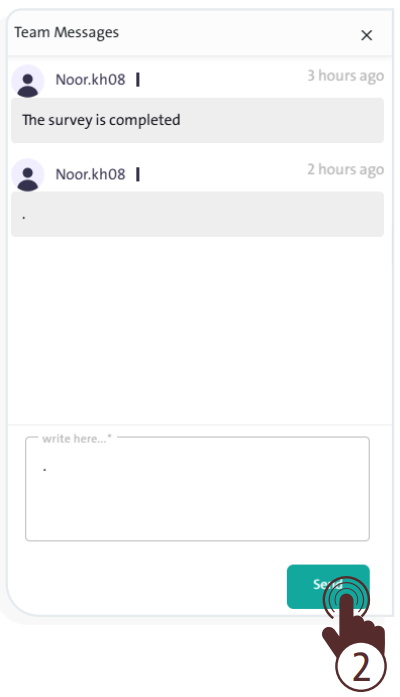
- To view the queue team’s messages and send your notes about the form, click “Team Messages”
 then:
then:
- Write your message in the “Message” field.
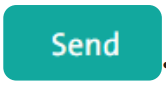
- Click “Send”
 so your team can see it and interact with it.
Actions #
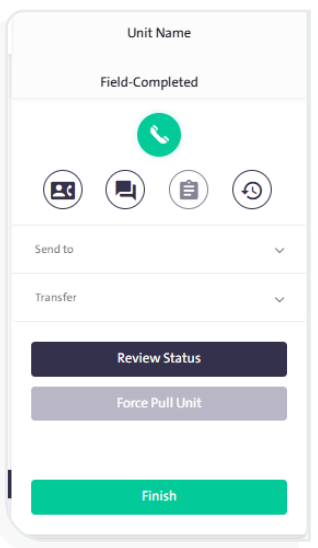
To display the survey of the pulled unit, click the “Open Survey” link for the desired survey within the “Actions” field in the “Tasks” table. From there, you can do the following:
- Call: Click the “Call” icon
 to inquire about the form with the respondent.
 - Record Notes: Click the “Call Notes” icon
 to view the notes log.
 - View Team Messages: Click the “Team Messages” icon
 to view team messages.
 - Set Review Status: Click “Review Status”
 to view the review status recorded for the form unit.
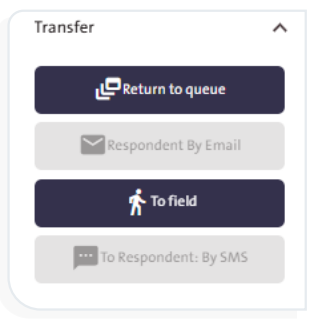
- Transfer the Survey: You can manage how the survey is conducted using one of the available options, as shown in the following image:
– Return to Queue: Return the survey to the main queue.
Respondent by Email: Send the survey to the respondent via email.
– To Field: Transfer the survey to a field employee to complete it on-site.
– To Respondent: By SMS: Send the survey link to the respondent via SMS.
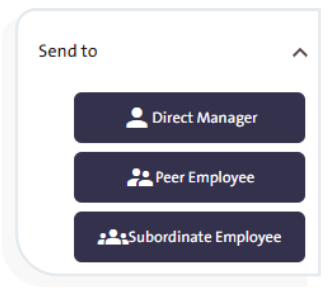
- Forward the Pulled Unit: Send it to one of the available destinations in the system Direct Manager, Peer Employee, or Subordinate Employee.

View Survey Log #
To view the sample details, click the “View” link for the desired form within the “Survey Log” field in the “Tasks” table. The “survey Log” tab will then appear below the previous table, displaying the following details:
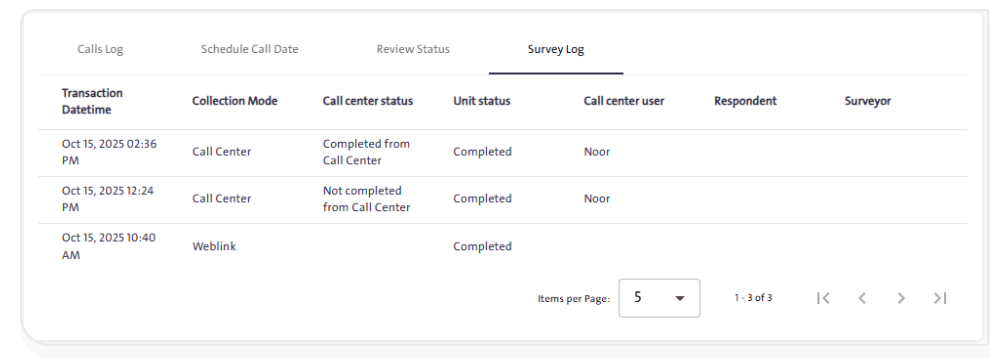
- Transaction Date and Time
- Collection Mode
- Call Center Status
- Unit Status
- Call Center User
- Respondent
- Surveyor