Review Specific Units in the Queue. #
To review specific units in the queue within your tasks and verify the accuracy of their data, follow these steps:
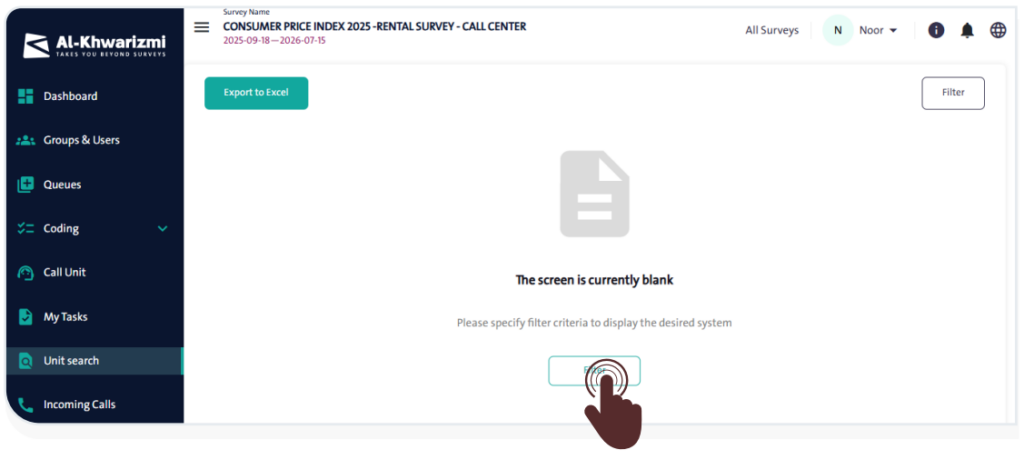
- From the side control menu, select “ Unit Search”
 .
. - Click “Filter”
 to open the “Filter” window, then define the filter criteria by following these steps:
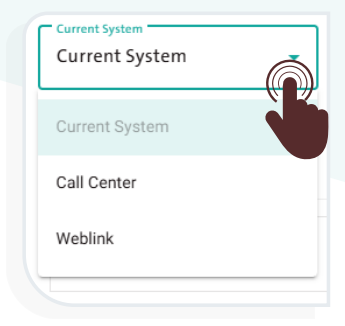
- Select the data collection method from the “Current System” dropdown menu:
– Call Center
– Field
– Web Link
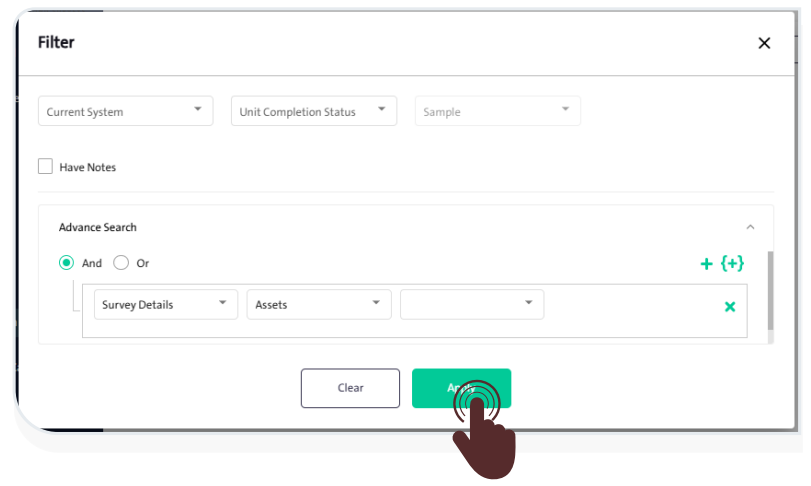
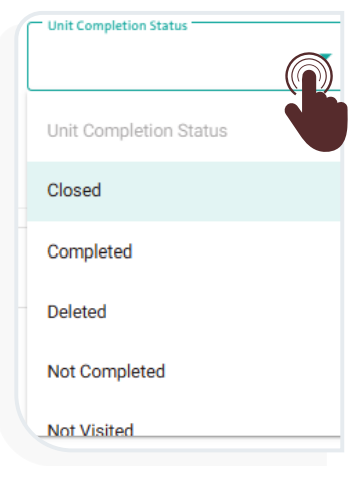
- Select the “unit completion status” from the dropdown menu:
– Closed
– Completed
– Deleted
– Not Completed
– Not Visited
- Apply the selected filter criteria by clicking “Apply”.

- To set new search criteria, you can clear the selected filters by clicking “Clear”
 .
.
INFO
- Select “Have Notes”
 option to search for units that have recorded notes only.
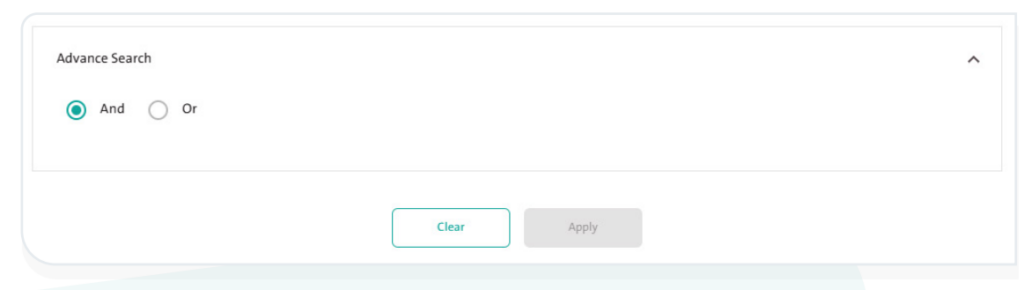
 - Select “Advanced Search” to display additional filtering options. Then choose the logical operator (And / Or) to define how multiple conditions should be applied.
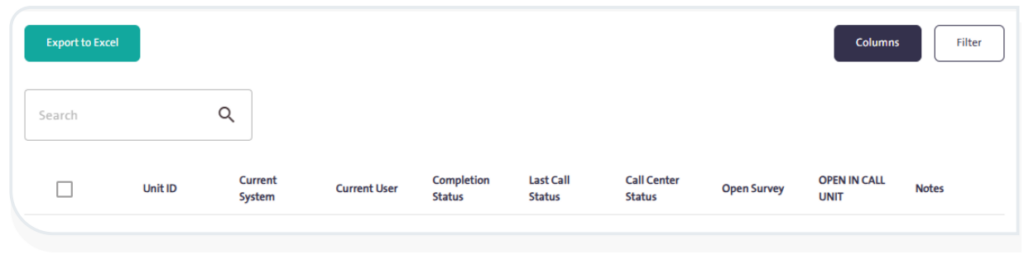
- Once the filtering is complete, a table will appear containing the following data:
- Unit ID: Represents the reference number in the “My Tasks” screen.
- Current System: Displayed according to the filter you selected.
- Current User: The user currently following up on the survey.
- Completion Status.
- Last Call Status.
- Call Center Status.
- Open Survey.
- Open Call Unit.
- Notes
- Click the “Notes” icon
 in the “Notes” column to view notes at the form level.
- View Survey: Click the icon in the “Open Survey”
 column to display the form in read-only mode.
 - View Survey in Unit Pull Screen: Click the icon in the “View Survey in Unit Pull Screen”
 column to open the form in the Call Unit screen, where you can edit the Surveys.
- View Survey: Click the icon in the “Open Survey”
- Click “Export to Excel”
 to download the displayed data as an Excel file for external use or further analysis.
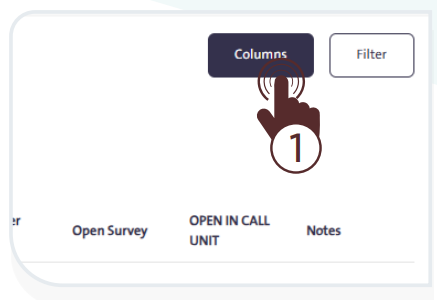
 - The system allows you to control the columns displayed in the table of search results after filtering. To do so, follow these steps:
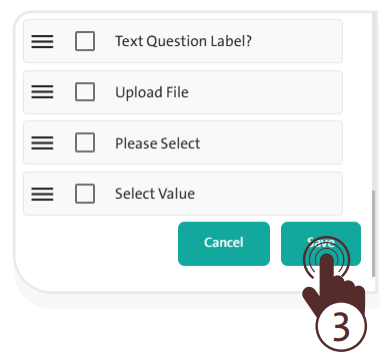
- Click «Columns»
 to open a side panel containing all available columns.
- Select the columns you want to include in the table.
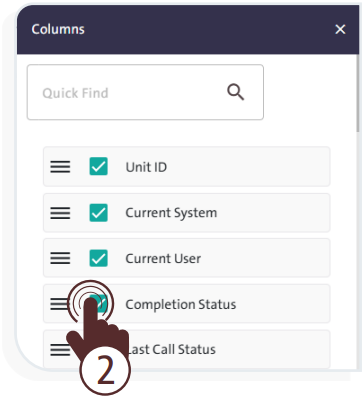
- Drag and drop the columns to arrange them in the order that suits you.
- When finished, click “Save”
 to confirm the new column arrangement and options.