
Add a Call to the Incoming Calls Log. #
This feature allows you to add calls received on the form support number from respondents to the forms. These calls are recorded in the system by following these steps:
- From the side control menu, select “Incoming Calls”
 .
. - A table of added calls will appear (if calls have been added to the queue). The table includes the following data:
- Ticket Number
- Caller Name
- Assigned To
- Employee Name
- Phone Number
- Call Purpose
- Address
- Description
- Created On
- Call Status
- Call Notes
- status
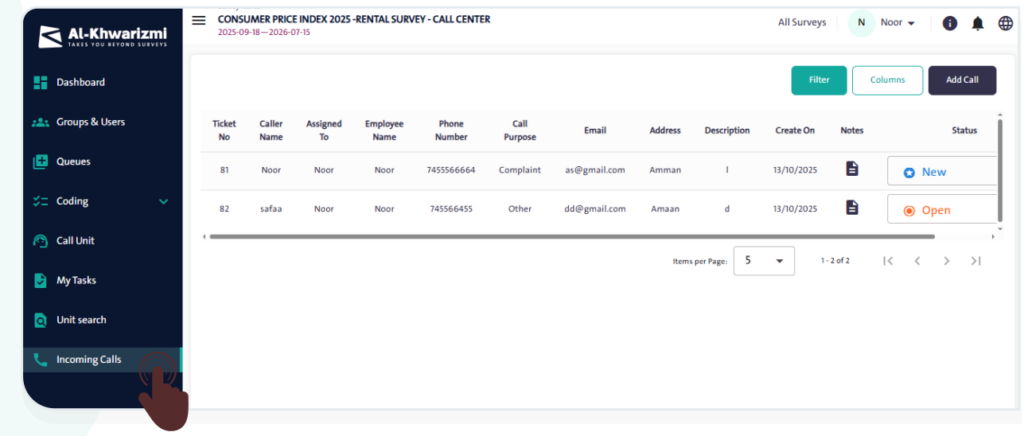
- Click “Add Call”
 to open the “New Support” screen, where you can enter the following details:
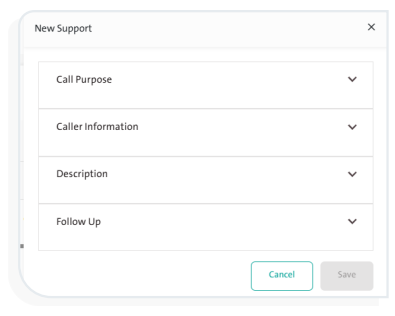
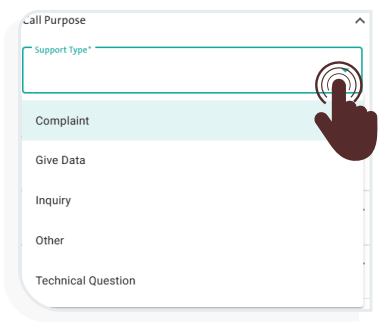
Call Purpose:
Select at least one of the available purposes:
- Complaint
- Give Data
- Inquiry
- Other
- Technical Question
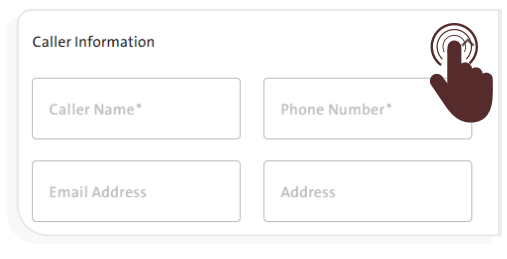
Caller Information:
Enter the following caller details:
- Caller Name
- Phone Number
- Email Address
- Address
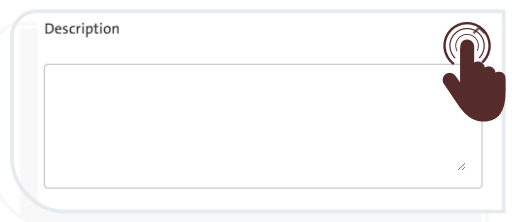
Description:
Write a brief description of the purpose of the call.
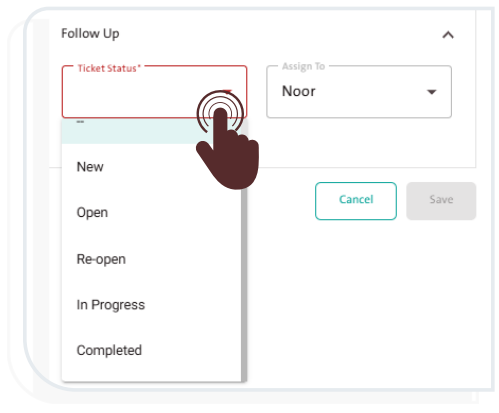
Follow-up:
Select the appropriate follow-up type and user for the task. Follow-up options include:
- New
- Open
- Reopened
- In Progress
- Completed
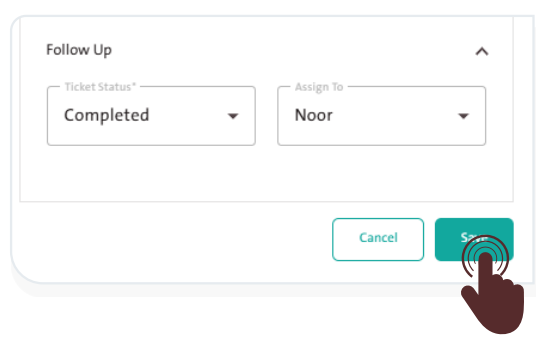
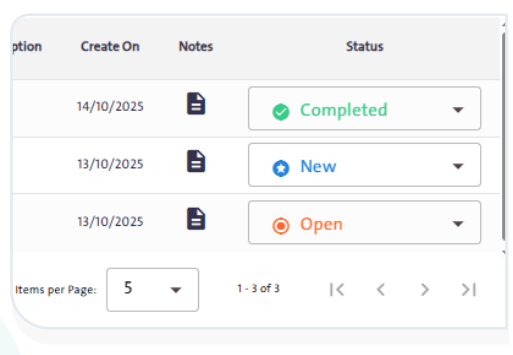
- Click “Save”
 to complete adding the call. The call status will automatically update according to the follow-up option entered, as shown in the adjacent image.
- Click “Cancel”
 to return to the Incoming Calls table.
– If the respondent submits a complaint during the call, the call status cannot be deactivated until the complaint is resolved.
– To select the columns displayed in the Incoming Calls table, follow these steps:
- Click “Columns”
 to open a side panel containing all available columns.
 - Select the columns you want to display in the table.
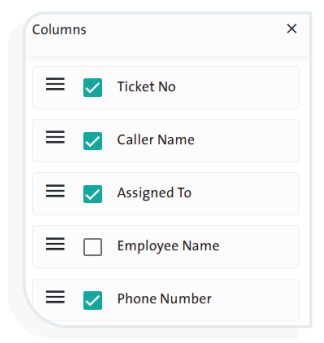
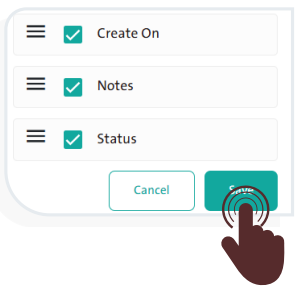
- Drag and drop the columns to arrange the table in the order that suits you.
- Click “Save” when you finish.
– To filter the Incoming Calls table, follow these steps:
- Click “Filter”
 to display the table filter options.
 - Set the filter options by selecting:
- Call status
- Call type
- Unit number
- Once you finish selecting the filter options, click “Search”
 to display the results in the table, if available.
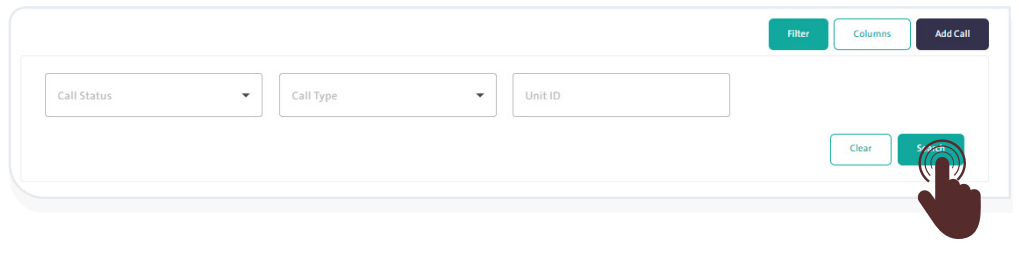
– You can clear the selected options by clicking “Clear” .
.