Track researchers during their movements in the field. #
The tracking screen enables you to monitor researchers’ movements in the field by drawing their routes between recorded points on the map, based on captured coordinates within a defined time frame. The intervals between tracking points (in seconds) are configured in the tracking settings.
To do this, follow these steps:
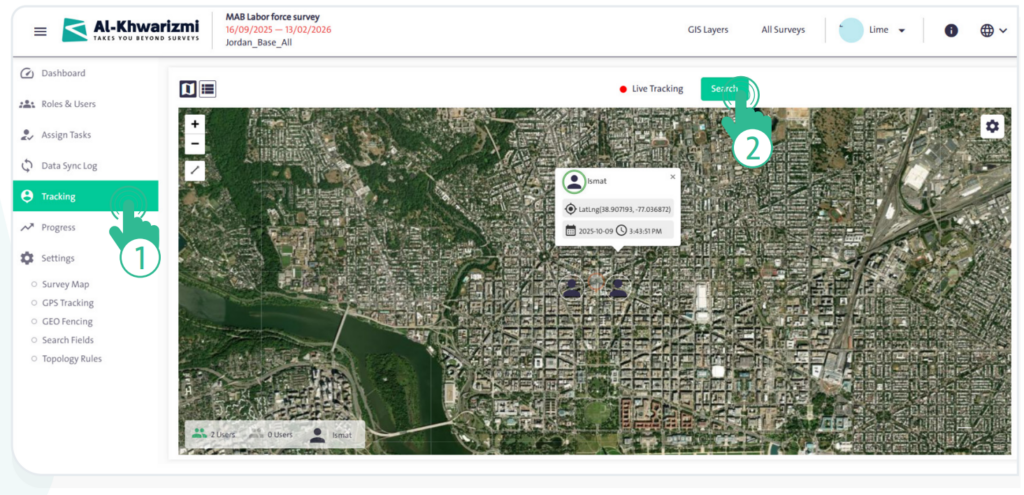
- Select “Tracking”
 from the side control menu.
 - Click “Search” to display a side panel, then follow these steps:
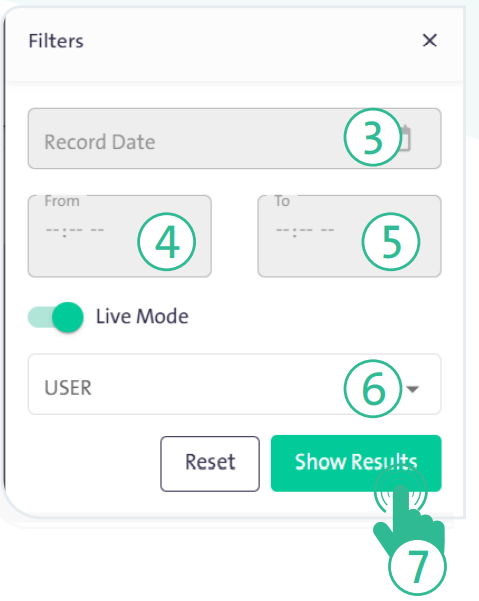
- Select the tracking record date.
- Specify the tracking time range (From/To).
- Select the user you want to track.
- Adjust the above options, then click “Show Results”
 to display the researcher’s path on the map according to the time and date you specified.
 - You can enable the Live Environment option to show currently active researchers on the map, displaying a single coordinate point of the researcher’s location during the last 30 minutes.
- From the top of the map, click “List”
 to switch the view from the map to a table, which includes the following data:
- Username.
- Date.
- Copy Coordinates.
- View on map.
INFO
- In the tracking table, you can display a team member’s location on the map by clicking “View on Map”. The geographic map will appear with their current location highlighted.
- The system provides several types of maps that you can switch between by clicking “Settings”
 :
:
Open street map:
displays geographic information such as roads, buildings, natural landmarks, and more.
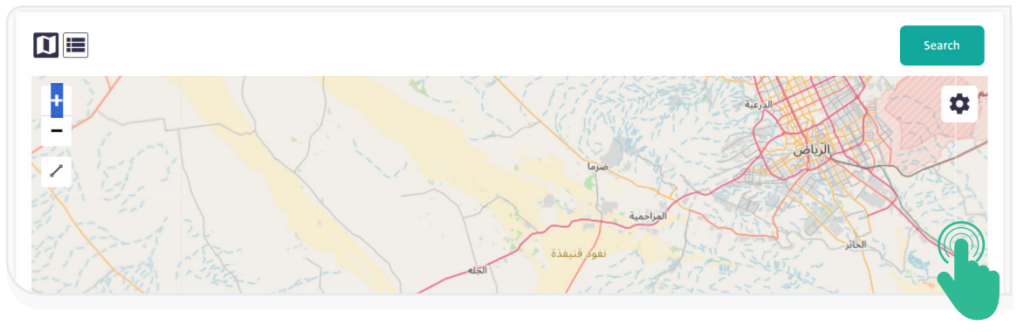
World Imagery:
displays satellite imagery.

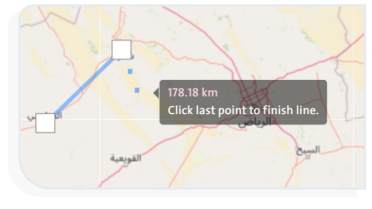
- You can measure distances on the map using the “Distance” icon
 by drawing a start point and an endpoint for the path you want to measure. The measurement result will appear as shown in the adjacent image.
- You can control the map view using the following options:
- Click the zoom-in icon
 to enlarge the map view.
 - Click the zoom-out icon
 to reduce the map view.
- Click the zoom-in icon
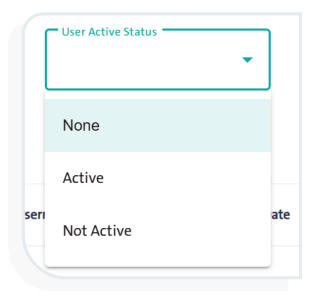
- You can filter the tracking table based on the user’s active status by clicking “Filters“
 , with the following options: Active, Not Active, or None
- You can export the tracking table in CSV format by clicking the provided link
 , allowing you to handle its data outside the system.
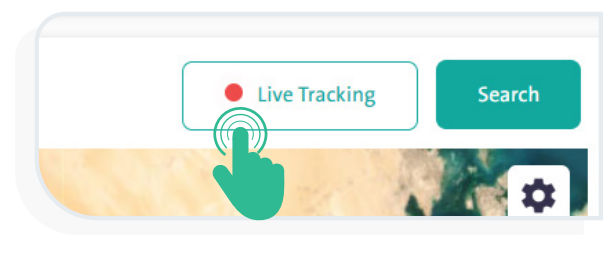
 - The system provides a Live Tracking feature for field researchers. By clicking the “Live Tracking” link
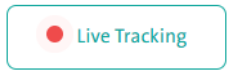 , you can view the current locations of active researchers on the map.