
Upload a predefined survey sample that includes respondent data. #
To download a predefined survey sample that includes respondent data in the Survey Designer system, follow the steps below:
- From the side Control Panel, select “Upload Sample”.
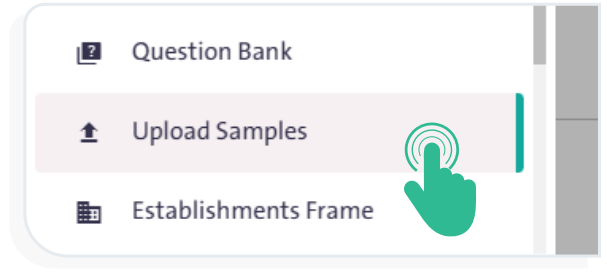
The Upload Sample page is used to automatically populate specific survey fields from the system for predefined users. Depending on the question settings, the user may also be able to edit the responses.
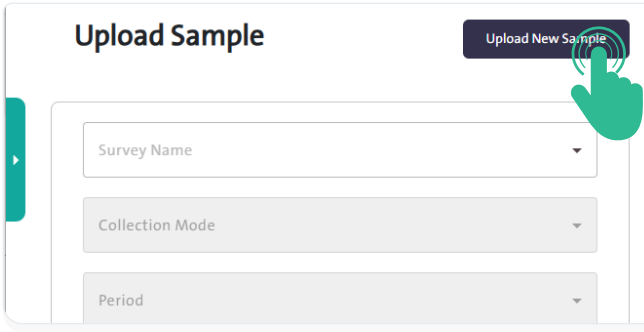
To start the upload process, click “Upload New Sample” ![]() , then follow these steps:
, then follow these steps:
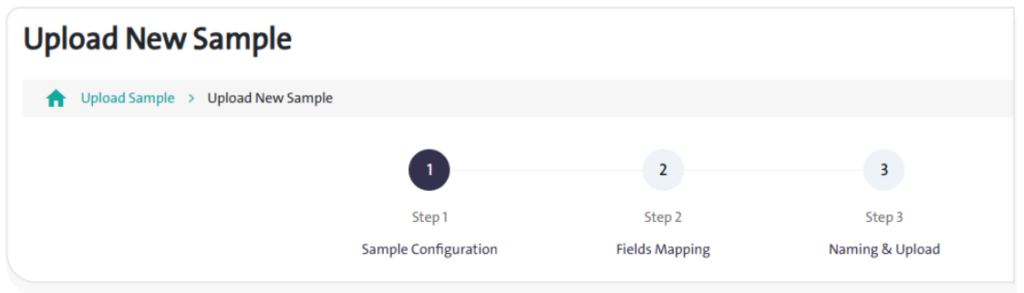
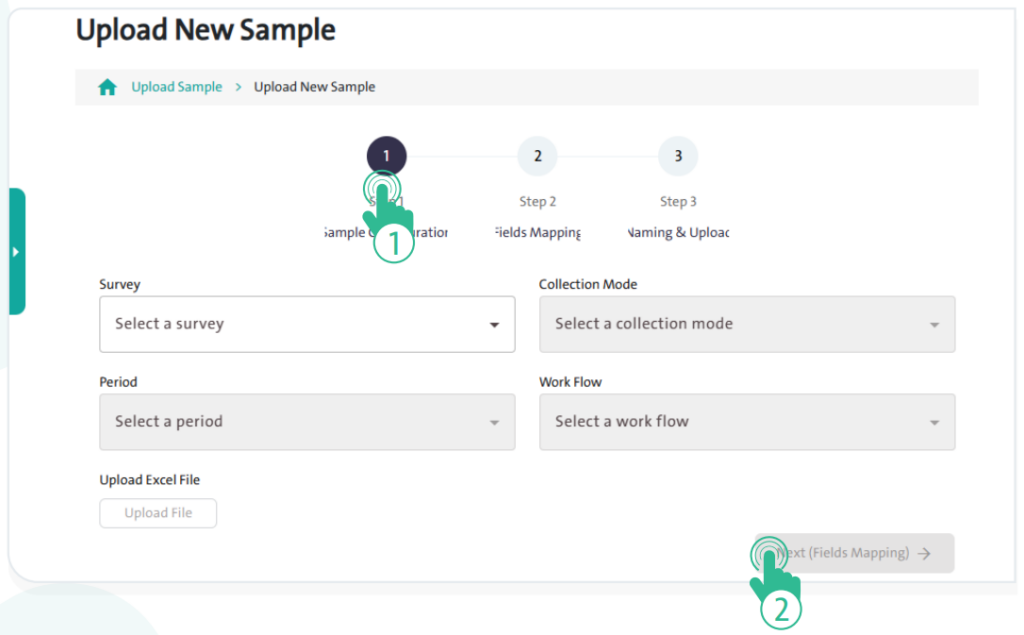
Step 1: Sample Configuration: #
- Select the survey, collection mode, period, and workflow. Then, upload the Excel sample file from your device, and click “Next (Fields Mapping)”
 .
.
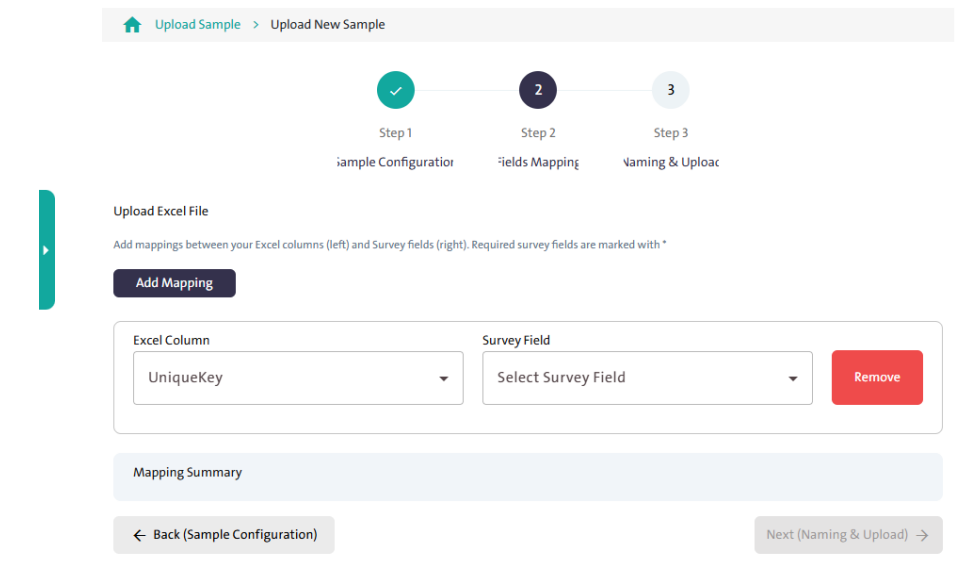
Step 2: Fields Mapping: #
Add mappings between your Excel columns (left) and the survey fields (right). Required survey fields are marked with an asterisk (*). Once the mapping is complete, click Next (Naming & Upload).
Step 3: Naming And Upload: #
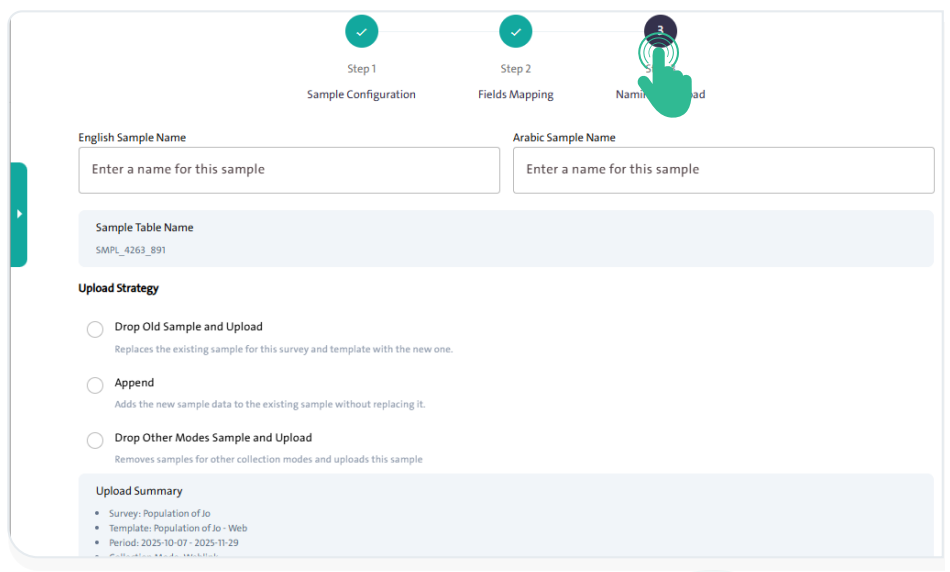
Follow these steps to name and upload the sample:
- Enter the Sample Name in both Arabic and English.
- Review the automatically generated Sample Table Name.
- Choose an Upload Strategy by selecting one of the following options:
- Drop Old Sample and Upload: replace the existing sample with the new one.
- Append: adds the new sample data to the existing one without replacing it.
- Drop Other Modes Sample and Upload: remove samples for other collection modes and uploads this sample
- Review the Upload Summary to verify all details.
- Click “Save”
 to complete the upload process.
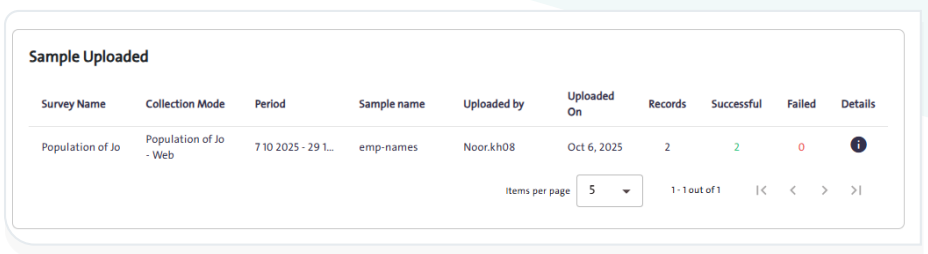
After successfully uploading a sample, the Sample Uploaded table displays a summary of the uploaded data, including the survey name, collection mode, upload date, number of records, and their upload status.
To view more details:
- click the “information” icon in the Details column. The Sample Details page will appear, showing:

- Sample Information: such as survey name, collection mode, upload date, and record status (successful or failed).
- Sample Records: table displaying each record’s data, including email, contact number, text, unique key, and geo code.
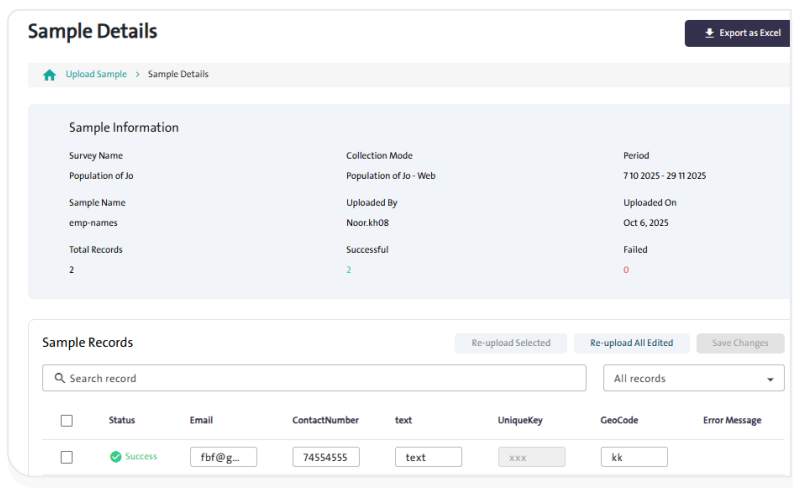
- You can perform the following actions on this page:
- Edit any record directly in the table.
- Click “save Changes”
 to update the edited data.
 - Re-upload Selected to upload specific records again.
- Re-upload All Edited to upload all modified records at once.
- Click “Export as Excel”
 to download the sample data in Excel format.
