
Adding a new job group and defining its details within the Call Center System. #
The “Groups and Users” screen allows you to manage job groups and assign users to them.
To define a job group, follow these steps:
- Select “Groups and Users”
 from the side control menu.
 - Click “Job Groups” under the Groups & Users section.
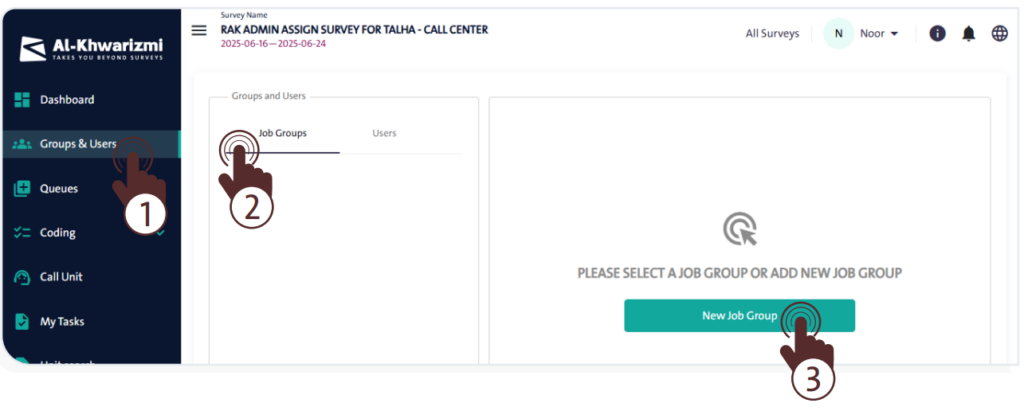
- Click “New Job Group”
 then follow the steps shown in the next screen.
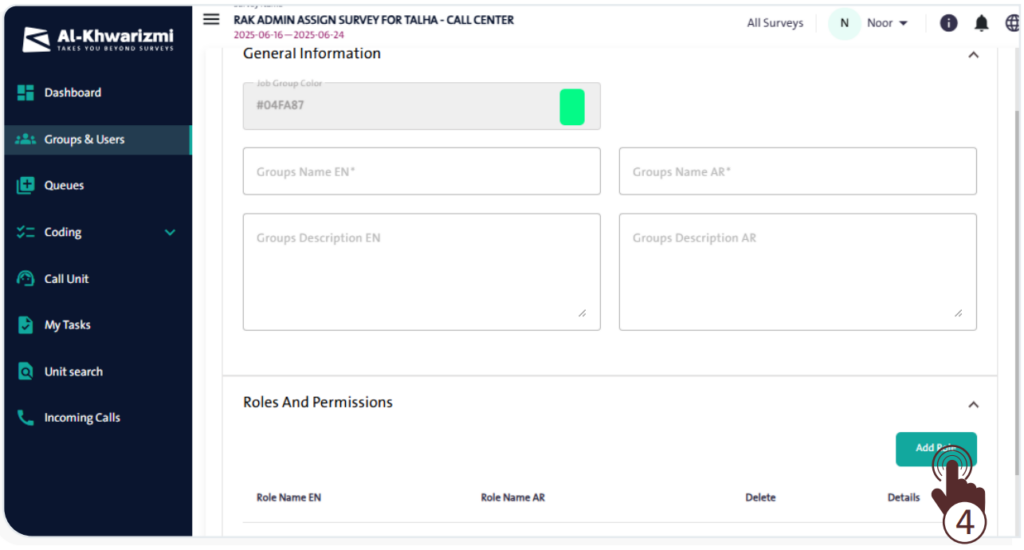
- Fill in the Group Color field or keep the default color.
- Enter the group name in both English and Arabic.
- Add a brief description of the group in both languages.
- Click “Add Role”
 to define the roles and permissions for this group. then follow the steps below:
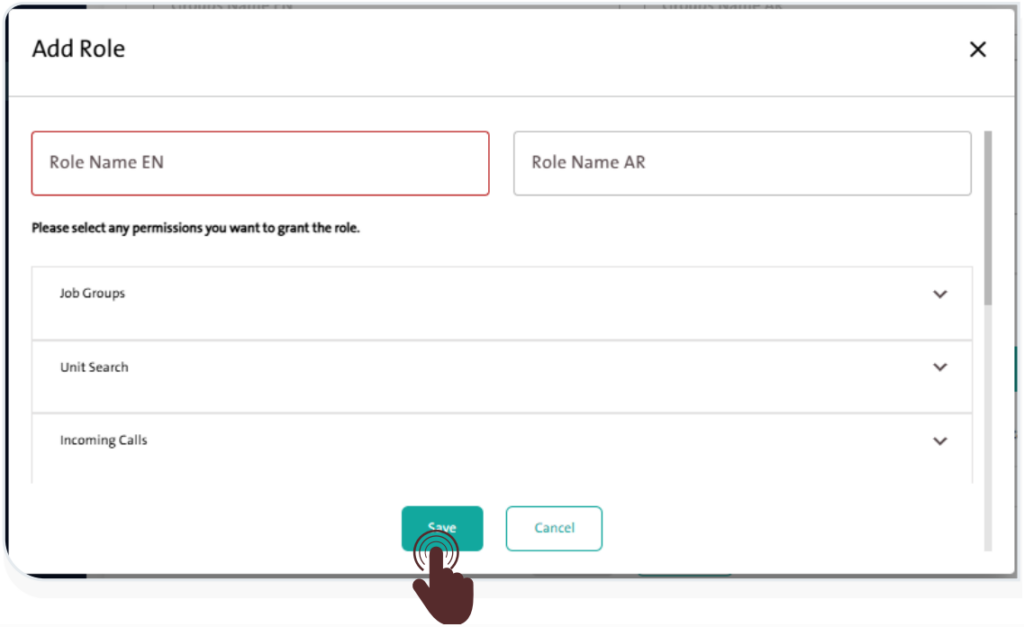
– Enter the role name in English and Arabic in the designated fields.
– From the list, select the permissions you wish to assign to the role, such as Job Groups, Unit Search, or Incoming Calls.
– Once you’ve set the required permissions, click “Save” ![]() to add the role or “Cancel” to discard the action.
to add the role or “Cancel” to discard the action.
– When finished, click “Save” ![]() to complete creating the job group.
to complete creating the job group.
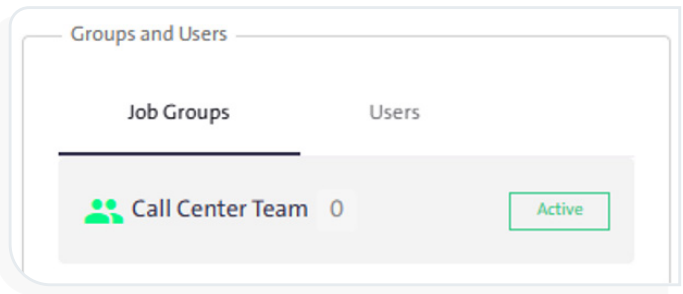
– The newly created group will then appear under the Job Groups section, as shown in the following image.
INFO
- Each survey must include at least one Manager role.

- The number displayed next to the role name indicates how many sub-roles belong to the main role.
- Click the arrow next to a role to expand and display its sub-roles.

- Click the “More” icon to perform the following actions:
- Add a sub-role
- Edit the role
- Delete the role
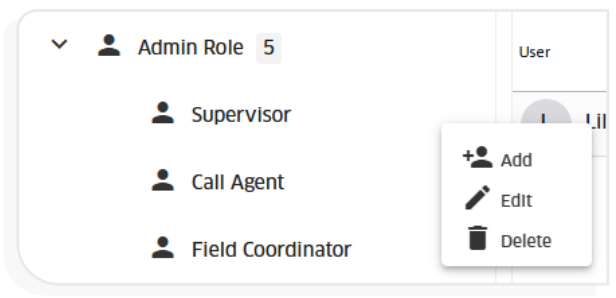
- The expansion of the role hierarchy diagram varies depending on the survey’s team members.