
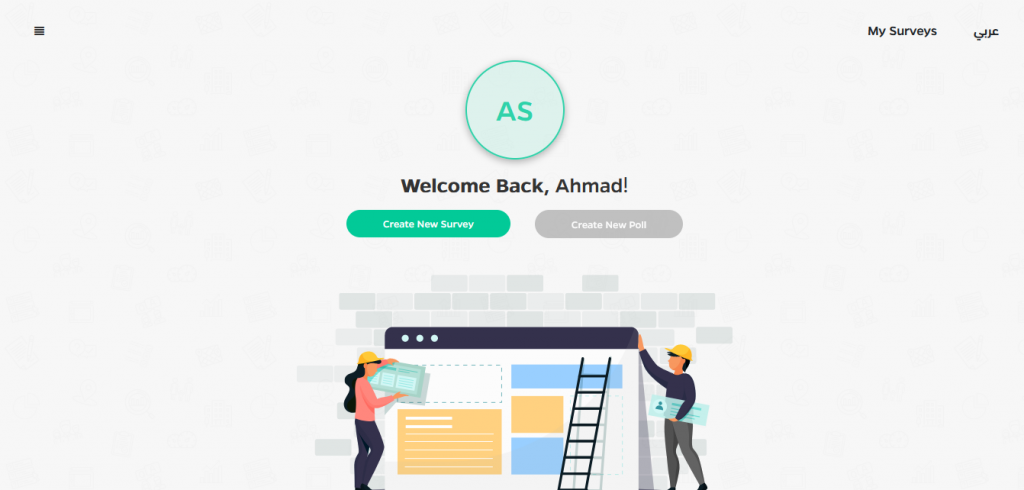
Home Page
How to Create a Survey from Scratch
Blank surveys are created from scratch.
- Navigate to the Dashboard page and click the Create New Survey button.
- Enter survey information on the Configuration page.
- Add pages, questions, and controls on the Builder page.
- Add rules to the survey on the Logic page.
- Edit the design of the survey on the Design page.
- Control the settings of collection survey information on Mode’s page.
- Prepare the survey for testing or generating on Publish page.
Blank surveys can be also created from the My Surveys page, by clicking the Create New Survey button.
How to Create a Survey from Templates
Use a survey template to save time by Coping a predefined survey that is frequently used from the survey templates list. When you use a template, you can still customize the survey and questions.
To create a survey using a template:
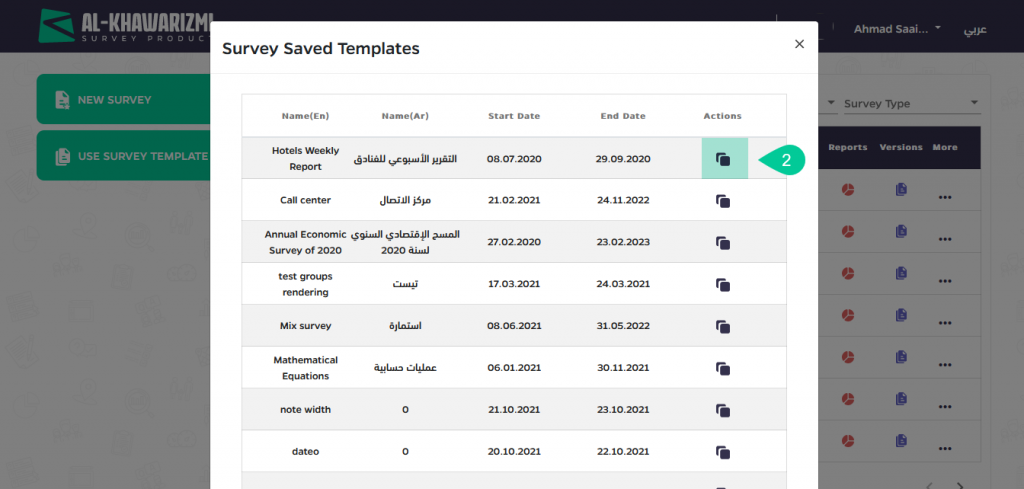
- Click on the Use Survey Template tab from My Surveys page.

- When you find a template, you want to use from the Survey Saved Template screen, click on the Action icon to copy the template.
- Edit the survey however you’d like by clicking on the Edit icon, It’s possible to add or edit questions, delete questions, and change the look and design of your survey before sending it to respondents.
How to Manage your Account
Al-Khawarizmi provides many features for Account Management and modification of user information.

This screen lets you do the following:
- Edit user account information.
- User Management.
- Calendar.
- BI View.
- Rule Logs.
- Question Bank.
- Upload Sample.
- System Domains.
- Coding List.
- GIS ETL.
When login into your account, you will be directed to the Dashboard screen. Click on the icon ( ) in the upper left corner of the screen, and then click My Account.
How to Logout from Your Account
You have two ways to logout from your account:
- From the Dashboard screen, click the icon () then click on Logout.

2. OR, Click on the account name then Logout.

How to show the survey’s start and end date
This screen shows all surveys with their start and end dates in the form of Gant chart that displays the start and end date, It is used to show all published survey and to display the periods of the periodic surveys with ability to find the overlaps and edit any of these periods settings and dates.
Click on the icon () in the upper left corner of the Dashboard screen, and then click Calender.

To use filter options, click on Filter then you can one or more of the following filter:
- Survey name.
- Filter by survey status.
- Filter by survey type.
- Survey start date.
- Survey end date.
When you click on the survey name, the period screen for this survey appears as follows.

From this screen, you can do the following:
- Edit Period name in English and Arabic.
- Edit Period date.
- Edit collection dates.
- Shift next periods: When the date of this period is modified, the adjustment will be carried over to the rest of the periods.
- Updates could be applied on one template or more
How to show the number of times the error and warning message appears to the respondent
This screen is used to show the number of times the error and warning message appears to the respondent when filling out the survey.
From Dashboard screen, click the icon ( ) then click on Rule Logs to view the screen.

This screen lets you do the following:
- Select survey name then select one of these filters (Question or template).
- Click Search.

The table above, lets you know the following:
- Rule name.
- Survey name.
- Template: At which template the rule was executed (web-link, tablet or call Center).
- Question: At which question the rule was executed.
- User: the user who applied the rule.
- Results: If true the rule was executed successfully, If false there is an error in applying the rule.
- Execute time.
How to Add New Question to question bank library
To add new question to category, do the following:
- Click on the icon () in the upper left corner of the Dashboard screen, and then click on Question Bank.
- Click New Question from upper side of screen.

2. Choose question type.

- Fill the Question’s attributes as we filled it in Survey Controls.
- Click Save to add the question.
- Category field is mandatory.
- New tag field: It is used to make it easier to distinguish between questions.
- Version field is optional.
- Tags makes the search for a group of question easier and categorize the question on detailed level in the same category
How to Edit Question from question bank library
From the left side of the page, there is 11 list of categories.
Click on the icon () in the upper left corner of the Dashboard screen, and then click on Question Bank.

To edit any question, do the following:
- Select category from the list.
- The questions of category will appear, you can edit or delete any question by Edit and Delete icon.
- Search for any question by Search field.
How to Upload Sample
This screen used for surveys that targets a specific sample of respondents, user can use his own format of excel that contains the targeted respondents with any other information to be uploaded on the survey questions (the user could be able to edit the answers based on the question definition), this page lets you do the following:
- Click on the icon () in the upper left corner of the Dashboard screen, and then click on Upload Samples.
- Choose Survey.
- Choose Template: web-link, tablet, or call Center.
- Choose period.

Also, you can upload sample by two methods:
- Drag and drop to upload you file
- Or select a file on your disk

- Click Next to go to Matching screen, match the sample’s answer with survey question then click on Next to go to Naming screen.

- Insert sample Arabic name, sample English name, and sample table name then click on Replace & Save.

- Append : This button allows to make edits on this screen
- To Upload Sample, the survey must be:
- On Sample from configuration page.
- Survey status is published.
How to Manage Surveys Samples
Click on the icon () in the upper left corner of the Dashboard screen, and then click on Upload Samples.
Click Manage Surveys Samples, the following screen will appear:

Search for any survey you want to edit by filter search fields, you can use one or more of the following filters:
- Survey name.
- Template.
- Period.
- Uploaded by.
- Insert survey name then click Search.
Click on Preview icon ( ) from manage surveys samples, the following screen will appear.

The screen contains table of four columns (email, name, number, and result).
- To edit the table, click on Update.
- To show invalid status, click on Show Invalid Status.
How to Add Coding List
It is a screen dedicated to define the coding list with each coding level to be used for coding Used for coding the open end questions defined in the survey like Profession, Economic Activity and Products.
To Add coding list, do the following:
- Click on the icon () in the upper left corner of the Dashboard screen, and then click on Coding List.
- Insert English name.
- Insert Arabic name.
- Insert version number.
- Insert New Tag (optional field): used to make it easier to distinguish between lists.
- Download the template by click on Download excel template, and fill the codes with our template and then upload it by click on Upload excel file.
- Click Add, the list will appear as one row in the table.

- The Table shows:
- English/Arabic name: For the uploaded list.
- Uploaded by.
- Number of levels.
- Version number.
- Tags.
- Click Details icon, the uploaded list will be previewed as a level tree.
- Click Delete icon to delete list.
How to Add Widgets
Widget is a broad term that can refer to either any GUI (graphical user interface) element or a tiny application that can display information and/or interact with the user.
The home page or Dashboard is the main interface of your Alkhawarizmi account. Each user can customize the home page to meet their needs.
To add some tabs to Dashboard screen to facilitate access, please do the following:
- Click Widgets from Account screen.
- Click on the tab you want to add.
- It will be added to Dashboard screen.

How to Edit Widgets
To edit Widgets, please do the following:
- Click (
 ) icon from down of Dashboard screen.
 - Click (
 ) icon to delete Widget or move it by drag-drop move.
 - Click (
 ) to save changes.
